Getting Started
After installing ABC User Feedback for the first time, initial setup is required to use the system. This document provides step-by-step guidance from tenant creation to collecting the first feedback.
Initial Setup Overview
To start ABC User Feedback, proceed with the following setup steps in order:
- Create tenant and administrator account
- First login and profile setup
- Create project
- Create channel and configure fields
- Generate API key
- Test first feedback collection
Accessing the System
If you need to install ABC User Feedback, first proceed with Installation using Docker Hub images.
After completing the installation, access ABC User Feedback through a web browser:
http://localhost:3000
If you changed the port or domain, enter the address according to your settings.
Creating Tenant and Administrator Account
When you first access the system, the Tenant Creation and Administrator Account Registration screen will be displayed.
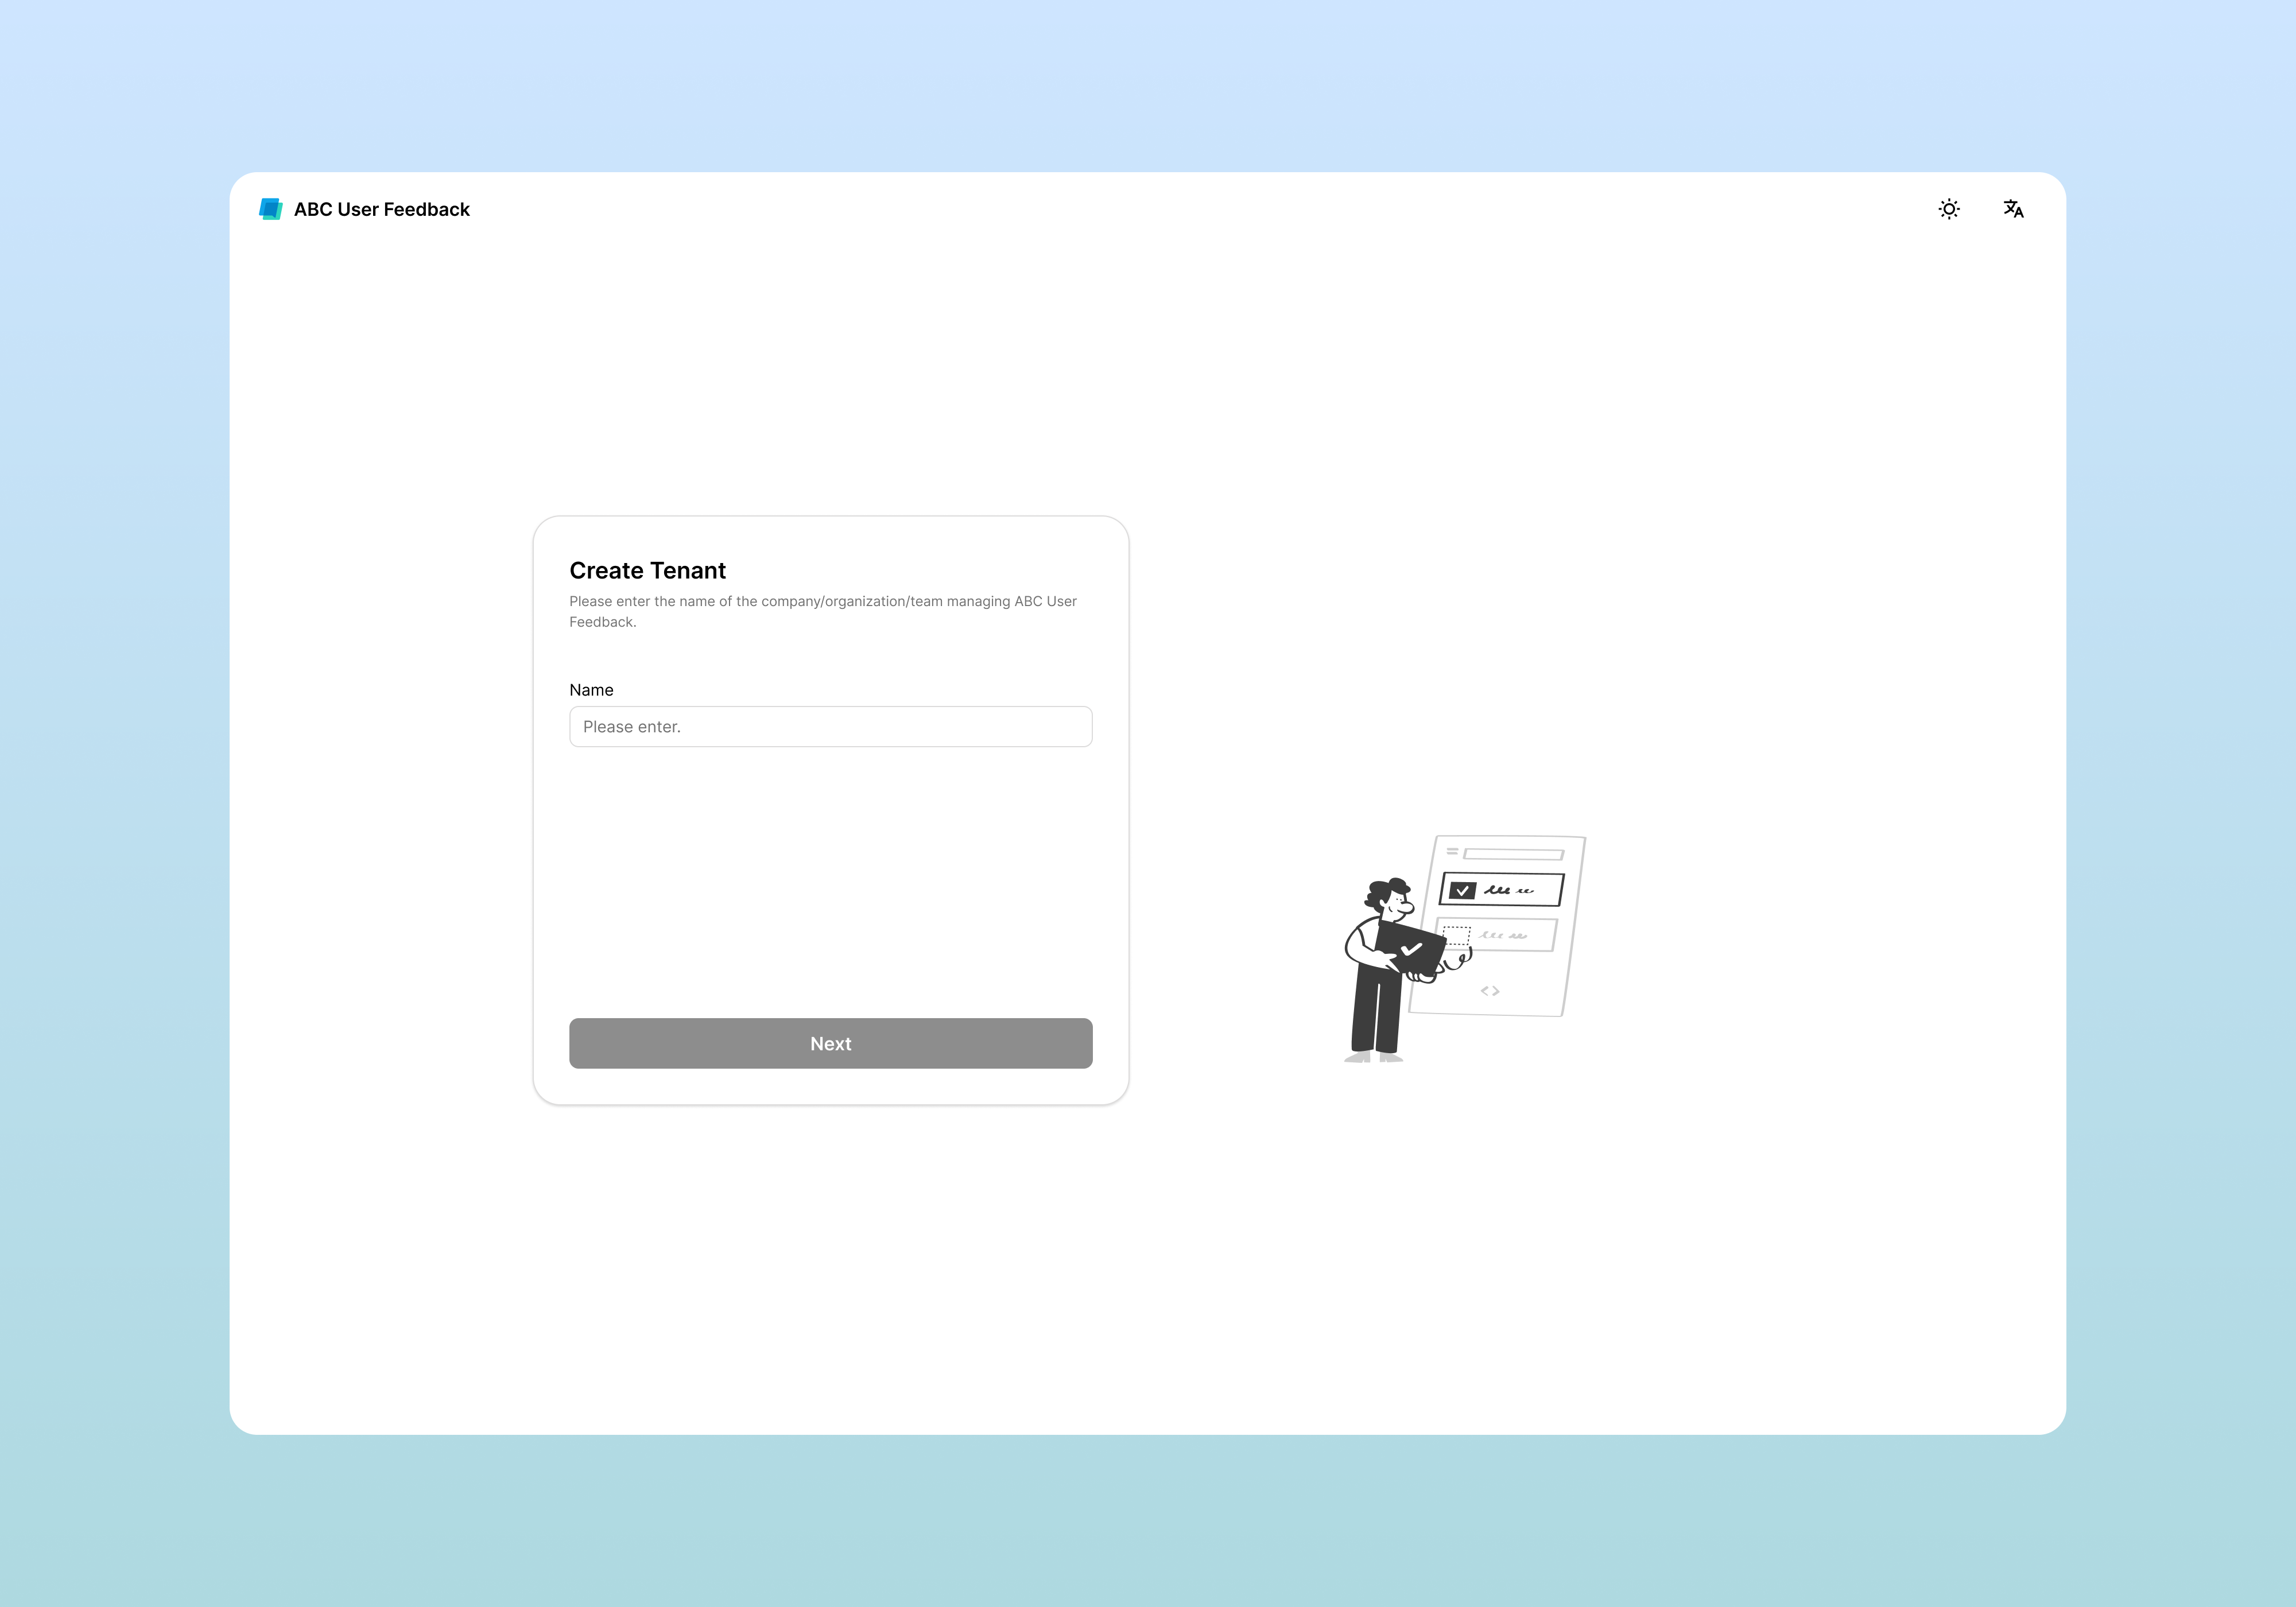
Step 1: Enter Tenant Information
Set the tenant name.
After entering the tenant name, click the Next button.
This tenant name will be displayed in the login UI.
Step 2: Create Administrator Account
Create the first administrator account for the system.
- Enter the administrator account email and click the Request Code button.
- Check the authentication code in your email inbox and enter it
- Click the Verify button
- After verification is complete, set a password.
- At least 8 characters
- Include letters (A–Z, a–z)
- Include special characters (e.g.,
@,#,!) - No consecutive characters (e.g.,
aa,11)
Examples: ✅
MyCompany2024!, ❌12345678,password
After tenant and administrator account creation is complete, a confirmation screen will be displayed.
Next step: Click the Confirm button to proceed to the login screen.
Logging In
Log in for the first time with the created administrator account.
- Email: Enter the administrator email registered earlier
- Password: Enter the set password
- Click the Sign In button
Creating First Project
After logging in, the project creation wizard will automatically start.
Understanding System Structure
ABC User Feedback has the following hierarchical structure:
Tenant (Organization)
 └── Project (Product/Service Unit)
     └── Channel (Feedback Collection Path)
Step 1: Project Basic Information
| Item | Description | Example |
|---|---|---|
| Name | Project name | Mobile App, Web Service |
| Description | Project description (optional) | Customer feedback collection and analysis |
| Time Zone | Time reference (affects dashboard and statistics) | Asia/Seoul |
After completion: After entering the information, click the Next button.
Step 2: Invite Team Members (Optional)
In this step, you can invite team members to the project. You can skip this now and add them later anytime.
Step 3: Generate API Key (Optional)
You can pre-generate an API key for integration with external systems.
Project Creation Complete
After entering all information, project creation will be complete.
Select next step:
- Create Channel: Immediately create a channel to start collecting feedback
- Skip for Now: Create channel later
Creating First Channel
After project creation, you need to create a channel to actually collect feedback.
Understanding Channel Concept
A channel represents a feedback collection path:
- Website inquiry form
- In-app feedback in mobile app
- Customer service VoC
- Survey responses
Step 1: Channel Basic Information
| Item | Description | Example |
|---|---|---|
| Name | Channel name | Web Feedback, App Review |
| Description | Channel description (optional) | Website user opinions |
| Maximum Feedback Search Period | Searchable period for feedback (30/90/180/365 days, all) | 90 days |
After completion: After entering the information, click the Next button.
Step 2: Field Configuration
Define the data structure to collect in the channel.
Default Fields
Fields automatically created by the system:
| Field Name | Format | Property | Description |
|---|---|---|---|
id | number | Read Only | Unique feedback ID |
createdAt | date | Read Only | Creation time |
updatedAt | date | Read Only | Modification time |
issues | multiSelect | Editable | List of linked issues |
Adding Custom Fields
Add custom fields for actual feedback collection:
- Click the Add Field button
- Enter field information:
| Item | Description | Example |
|---|---|---|
| Key | Unique identifier (uppercase/lowercase letters, numbers, _) | message, rating |
| Display Name | Name displayed in UI | Feedback Content |
| Format | Data format | text,keyword,number,date,select,multiSelect,images,aiField |
| Property | Editable (modifiable in UI) / Read Only (not modifiable) | Editable |
| Status | Active / Inactive | Active |
Recommended Default Field Configuration
For the first channel, it is recommended to add the following fields:
| Key | Display Name | Format | Description |
|---|---|---|---|
message | Feedback Content | text | User feedback |
userEmail | User Email | keyword | Contact (optional) |
rating | Satisfaction | number | 1-5 point rating |
Field Preview
After completing field configuration, you can preview the feedback input screen with the Preview button.
After completion: Complete channel creation with the Complete button.
Channel Creation Complete
Next step: Click the Start button to begin collecting feedback.
Testing First Feedback Collection
After channel creation is complete, you can actually collect feedback.
Registering Feedback via API
Let's register the first feedback using the created API key.
API Request Example
curl -X POST http://localhost:4000/api/projects/1/channels/1/feedbacks \
  -H "Content-Type: application/json" \
  -H "X-API-KEY: YOUR_API_KEY" \
  -d '{
    "message": "The app runs slowly",
    "userEmail": "user@example.com",
    "rating": 3
  }'
Replace
YOUR_API_KEYwith the actual API key created earlier.
Checking Success Response
If the API request succeeds, you will receive the following response:
{
  "id": 1
}
Checking Feedback
Let's check the registered feedback in the web interface.
- Click the Feedback tab in the top menu
- Check the registered feedback in the feedback list
- Click the feedback to view detailed information
Creating First Issue
Let's create an issue based on the feedback.
- In the feedback detail screen, click the
+button in the Issue section - Enter the issue name and press Enter or click the Create button
- Check the created issue
Next Steps Guide
Basic setup and first feedback collection are complete!
Related Documents
- API Integration - Detailed API usage guide